Our group has decided to work on some 28mm ECW troops. I decided to paint up a unit for the group as well. The figures are Pike & Shotte Parliament Infantry.
First I will tell you that I haven't had much experience with the plastic figures and I found them to be a pain to put together. My biggest issue was trying to match up arms to hold the various weapons. Apparently I messed up somewhere along the line as I ended with one guy with one arm that didn't quite match up to his body the gun he was supposed to be holding. I also ended up with two figures who didn't have any arms at all. So I used them as my test pieces.
The other thing I decided to do was to try Army Painters painting method. I've used the Army Quick Shade product for a long time and I generally like it but I've never done the full method.
So this time I went with the Crystal Blue Primer and sprayed the figures. I really started to have my doubts once I saw how "Blue" it really was but I pushed on and starting painting the figures with just basic colors.
I've gotten so use to painting smaller figures (10mm), I forgot how much more stuff had to be painted. :-)
Once the figures were painted I decided to use the Quick Shade Soft Tone. I've used it before on smaller figures and it doesn't obscure the painting detail, so I went with it. Usually I brush the stuff on with the smaller figures. It's just easier, I feel. This time I tried the dip method on the figures. I ended up having to use a brush on the pikemen as the pikes were too large to dip the figure. I have to say that once the figures had been shaken after being dipped I was very worried. The stuff was just globbed all over the figures, except for the brushed ones.
I let the figures sit and dry for 24 hours. After drying I was even more worried about the process. The figures looked like shit and my doubts had really risen. I grabbed my spray can of Krylon Matt Spray and hit the figures up with a light coat. I let them sit over night.
When I got home from work tonight I brought the figures in and I have to say that they looked much better. I'm still a little disappointed with the dipped figures because some of the details and the colors I chose became obscured a little too much for my taste. The brushed on figures retained their colors better and the details weren't as obscured.
If I decide to use this method again I will go with the brush method instead of dipping.
So see below for the figures. Also the flag is a hand drawn flag by me using the method I had done a month or so ago.

Primed Blue. It looked really strange.

The figures are done. They were dipped/brushed with the Quick Shade and then given a matt spray.


A little close up view. I do like how the shade filled in the feathers.

The drum's colors ended up too muted for my taste.


The pikemen were all brushed with the Quick Shade. I think it worked a lot better.


My hand made flag. The 25mm flag was so much easier to make than the 10mm ones. :-)


More Pikemen. Again all brushed.

The Quick Shade did give a nice effect to the armor


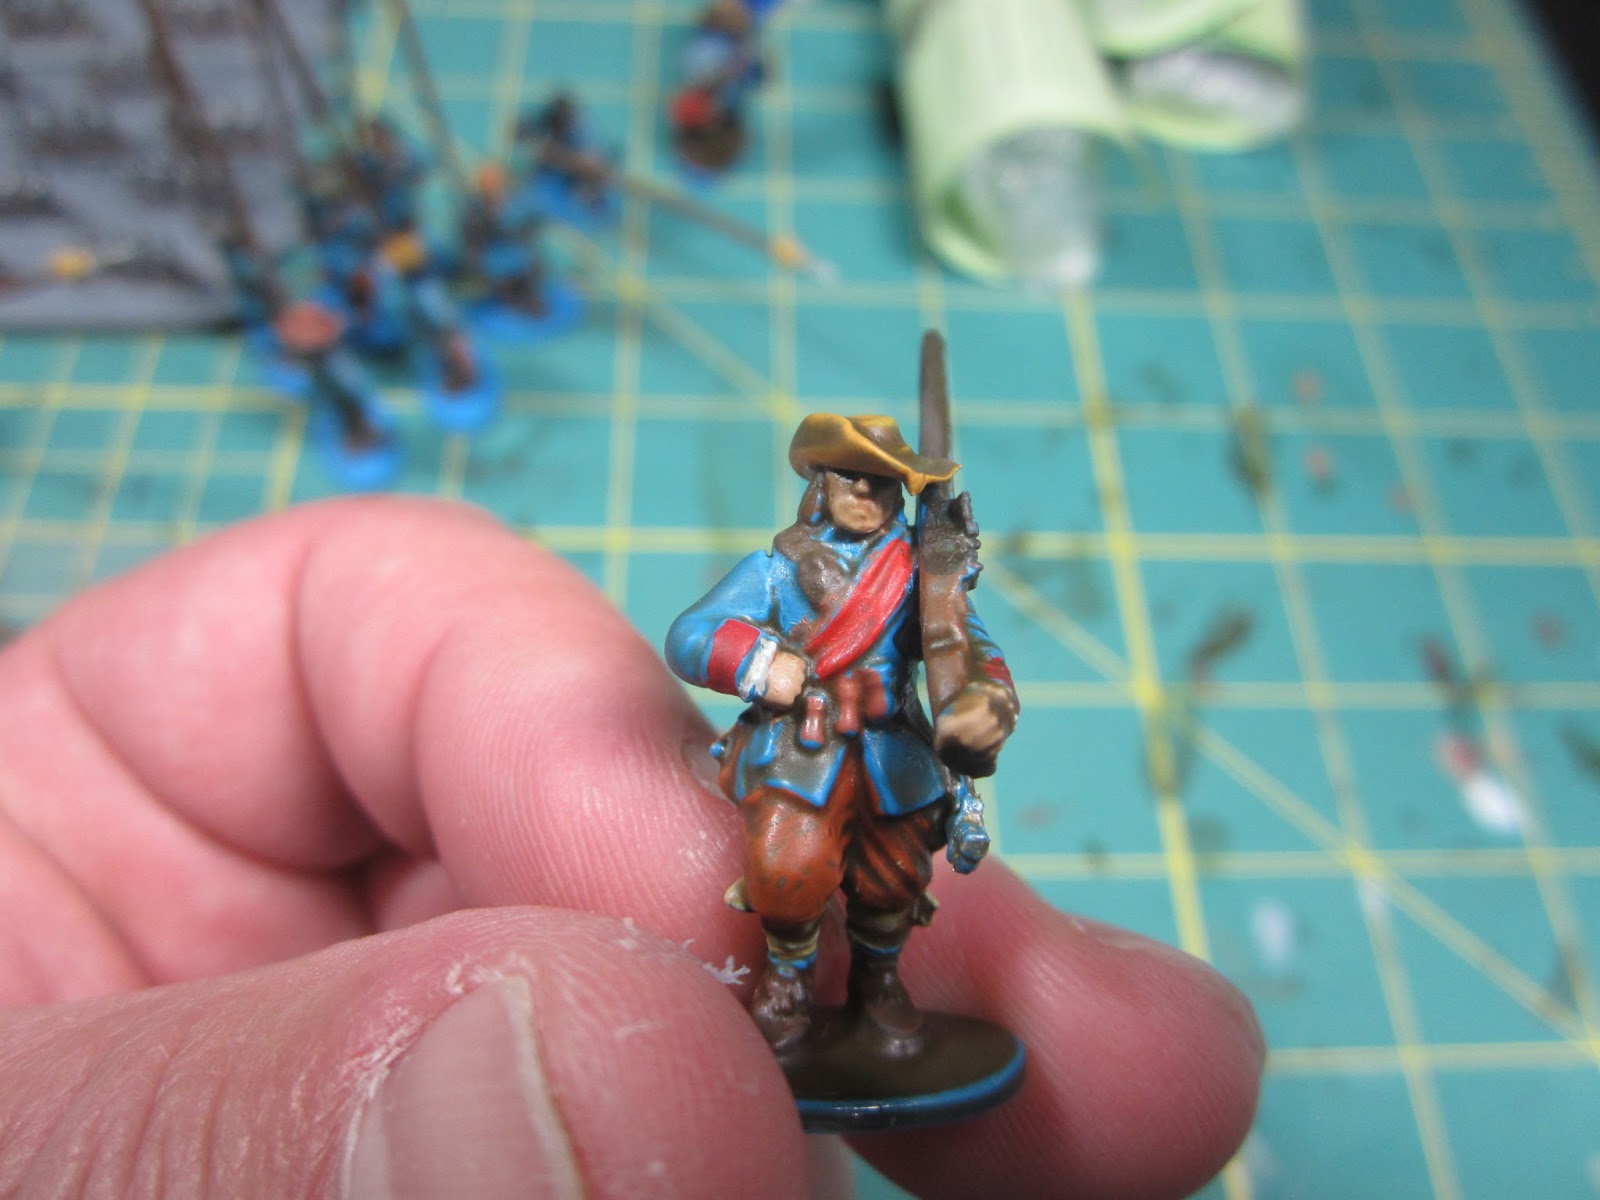


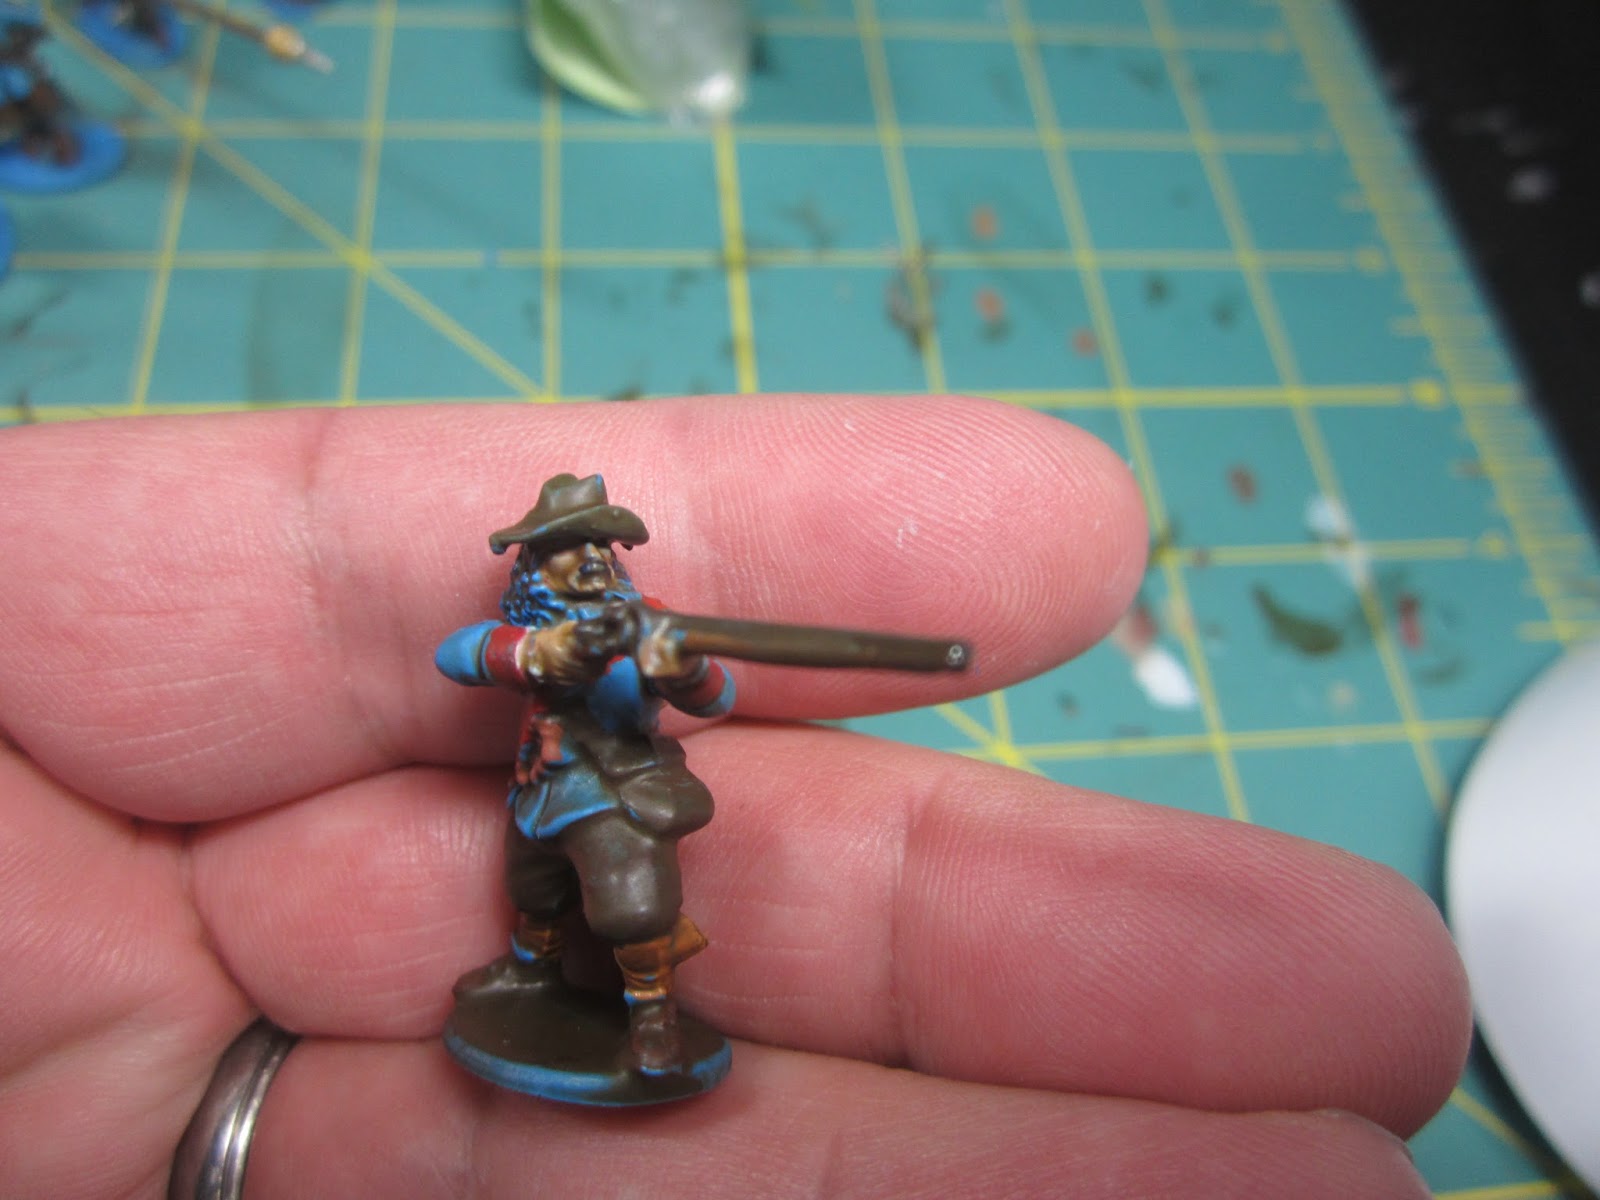
Now these two figures I painted along with the other troops but these two I decided to dip and then instead of the matt spray, I bushed on Army Painters Ink Strong Tone. The ink took away the sheen of the Quick Shade and gave it a very different look that I like. I think the Ink made the details pop a little bit more. What do you think?
Wow! Impressive! I guess I didn't get the memo that we are branching out into 28mm TYW... I hope you aren't expecting anything from me...
ReplyDeleteNo weren't expecting anything from you. It was something Andy and Alyssa decided on and I said I would paint a unit for it.
DeleteMe again.... why did you use the blue primer? Also, what did you use to paint the armor? And yes, ink generally does make the details pop out more than the Quick Shade (or Dave's Sheep Dip, which is what I use...)
ReplyDeleteThe blue primer provides the basic uniform color. So if you were going to do WWII Germans you could paint them using their Grey Uniform primer and then paint the skin, canteen, bed roll, gun and so on. It's supposed to make it faster.
ReplyDeleteThe armor was painted using Vallejo's Gunmetal Grey. The Quick Shade gave it a more rusted appearance which I didn't expect.
In recent years I use Magic Wash (future acrylic floor "wax" with a small amount of surfactant, water, and acrylic black ink. I like the effect better. My friend Jon (Palouse war gaming journal) gets great results using army painter so he might be a good source for pointers. Literally dipping the figures is probably too much stain unless you blot off the excess.
ReplyDelete