Showing posts with label Italian War Campaign. Show all posts

Tuesday, February 12, 2013

The Commanders Speak

After I posted my recap of the 1859 campaign a fellow gamer/mentor Peter G.(Blunders on the Danube) asked me to see if the two commanders would post what they thought about the campaign.  I thought that was a great idea.  Here are their comments on the campaign.

James the Austrian Commander:


I had a lot of fun with this campaign despite losing. I think that once we got past most of the learning curve it ran very well. The whole process will be familiar to anyone that has played Piquet rules. I especially liked the way battles and battlefields are generated. It is card driven and very fair to all players.
I can think of only one thing that I would improve upon. I would make counters for my own map to help me keep track of the current location of all my armies.

Garland the Italian Commander and Winner of the Campaign:
Where to start? In forty years of gaming I've taken part in a lot of campaigns that have fallen apart due to bad rules, judging, attitudes, and more. For the most part we stayed away from these and had a very entertaining campaign. The time we took to learn and become familiar with the rules was well worth the time. Having a campaign move separate from the battle night let us stay away from getting to hectic due to time constraints. The time it takes to set up at first seems daunting. With practice it became part of the fun of the game. The different layers to the set up give the battle meaning.That's not the proper word but i think it's close enough. Do I have strength advantage? Can I set up on my opponents flank? Will he take units away from me? Am I Bennigson at Freidland or Jackson in the Valley?
The flow of the game system itself is both nerve racking and fun. As Victor has already stated we use domino's after the initiative roll to determine initiative points. In our last battle this allowed James, outnumbered 2 to 1, to dictate where the main fight was to be on the table. In the you move I move systems this would have been almost impossible. The varying formations in the system allowed James and I to have two different tactical doctrines in the beginning. I was in open order most of the games trusting to the rifled musket, and it worked well this time. Next time will most likely be different.
Where to end? Now. Thanx, Garland

Wednesday, January 23, 2013

The Battle of Mortara: Death knell of the Austrians 1859

After the fall of Milan to the Italians a few days ago and the crushing defeat of Zobel by the Italian commander Camerana, the Austrian morale was non-existant.  Zobel's retreating army passed through Benedek's army in Mortara causing more friction with stories of their defeat.
Hot on the heals of Zobel's retreating army Camerana blundered into Benedek's army.
No one on the Austrian staff under Benedek could figure out if Benedek's orders were bold or pure lunacy.  ATTACK!

Benedek's commanders arranged their small force against the heavy hills.  It was an unfair fight, 13 units against 23, with only one unit of cavalry and one battery of artillery, the Austrians lurched forward.

Overview of the battle field with the Italians on the right using the hills to their artilleries advantage.


The Italian Artillery opened up on the advancing Austrian infantry.

Over the hill they came.

The Austrians hoping to get to the little town of Mortara before the Italians.


Endless rows of Italians wait for the enemy.


The one Austrian cavalry unit pushes forward and pays the price as accurate artillery and rifle fire devastates them. 


The Italian cavalry tries to turn the flank of the Austrians.


Heavy rifle fire from both sides pushes the Italians back with heavy causalities.  A bright light begins to shine on the Austrians. 

Seeing the Austrian artillery unlimber, the Italian cavalry charged!

The artillerists were killed to the man.

Seeing their comrades slaughtered the Italian cavalry paid the price with heavy losses due to rifle fire and routed away.


More glimmers of hope for the Austrians as another Italian unit routs away.


A bold local Italian commander caught the Austrians in the flank causing them to rout away.

The hills provide some relief but the slaughter was too great under the heavy Italian fire and weight of numbers for the Austrians.  Their morale broke with large losses.
This loss caused the Austrian government to sue for peace with the Italians, which pulled the Austrian troops back to the Quadrilateral.  The Unification of Italy was nearly complete. 

Wednesday, December 26, 2012

The Battle of Torre Beretti


The Battle of Torre Beretti in April 1859 (week 5) of our campaign played out on December 1st.

The Italian Commander Camerana after sitting for three weeks near the town of Torre Beretti facing his enemy Zobel decided to attack.  The exact reasons for Cameranas sluggish moves against his enemy are unknown but his timing proved exceptional as his entire army made the battlefield. It was then he launched his attack.  On the reverse Zobel's forces failed to rally to the Austrian flag and leaving most of his army strung out along the roads and villages coming to the battlefield.  

Italian Commander Camerana on the left.


The Austrian Commander Zobel.


The hilly terrain with its dense packs of trees worried both commanders.  The limited Austrian troops spread themselves out along the rolling hills and waited.


The Austrians commander on the right defied orders and moved out to probe the Italian left.  Witnessing the Austrian approach the Italian cavalry began moving to intercept them.  The Italian center moved forward.


Most of the Austrian activity floated around their right side of the battle.  Pushing forward but ultimately this would prove costly as the Italian guns gained the killing range and wiped out most of the advance force.  The Italian guns did their damage all along the Austrian line.


The Italians continued to push forward and the Austrians with almost no morale chips left, started to fall back.  Leaving only his cavalry to screen the retreating infantry the Austrian cavalry took the brunt of more withering Italian rifle fire.
At the end of the night the Austrians gave way and left the field to the Italians.  A crushing victory for the Italians and a another crushing defeat for the Austrians.

The last two battles have been very costly for the Austrians and it will be interesting to see how they recover.  The string of victories for the Italians have bolstered their morale and they continue to push on and around the Austrians.


Thursday, August 2, 2012

The Battle of Sale, 1859

Our third battle from our campaign happened this past Saturday.  The forces were pretty even strength wise for this one, unlike the first two battles where the Italians had been out numbered.  Let me introduce the generals for this campaign.
The Austrian Commander Benedek aka James plotting his opening moves.
 The Italian Commander Mollard, a manic depressive who drove his subordinate commander nuts, aka Garland.
The Italian Sub-Command Danti, wondering how he got roped into this battle, aka Shawn.
The two combatants blundered into each other in this little town of Sale.  The Italians placed the bulk of their army on the Austrian left.  Wishing to force the flank, while leaving the center and right lightly held.  The Austrian Commander must not have seen the concentration to his left and put the bulk of his forces in the center and on his right flank.

The opening went to the Italians and the General sent his cavalry out to find the edge of the massed Austrians in the center.

The Austrians start to react to the on coming Italians.
 On the Austrian right, the Jagers push towards the Italians.
 The Italian line waits patiently for the Austrians to reach rifle range.
The Italian cannons ready to fire on the Jagers.  First blood would be spilled on the Austrian right.
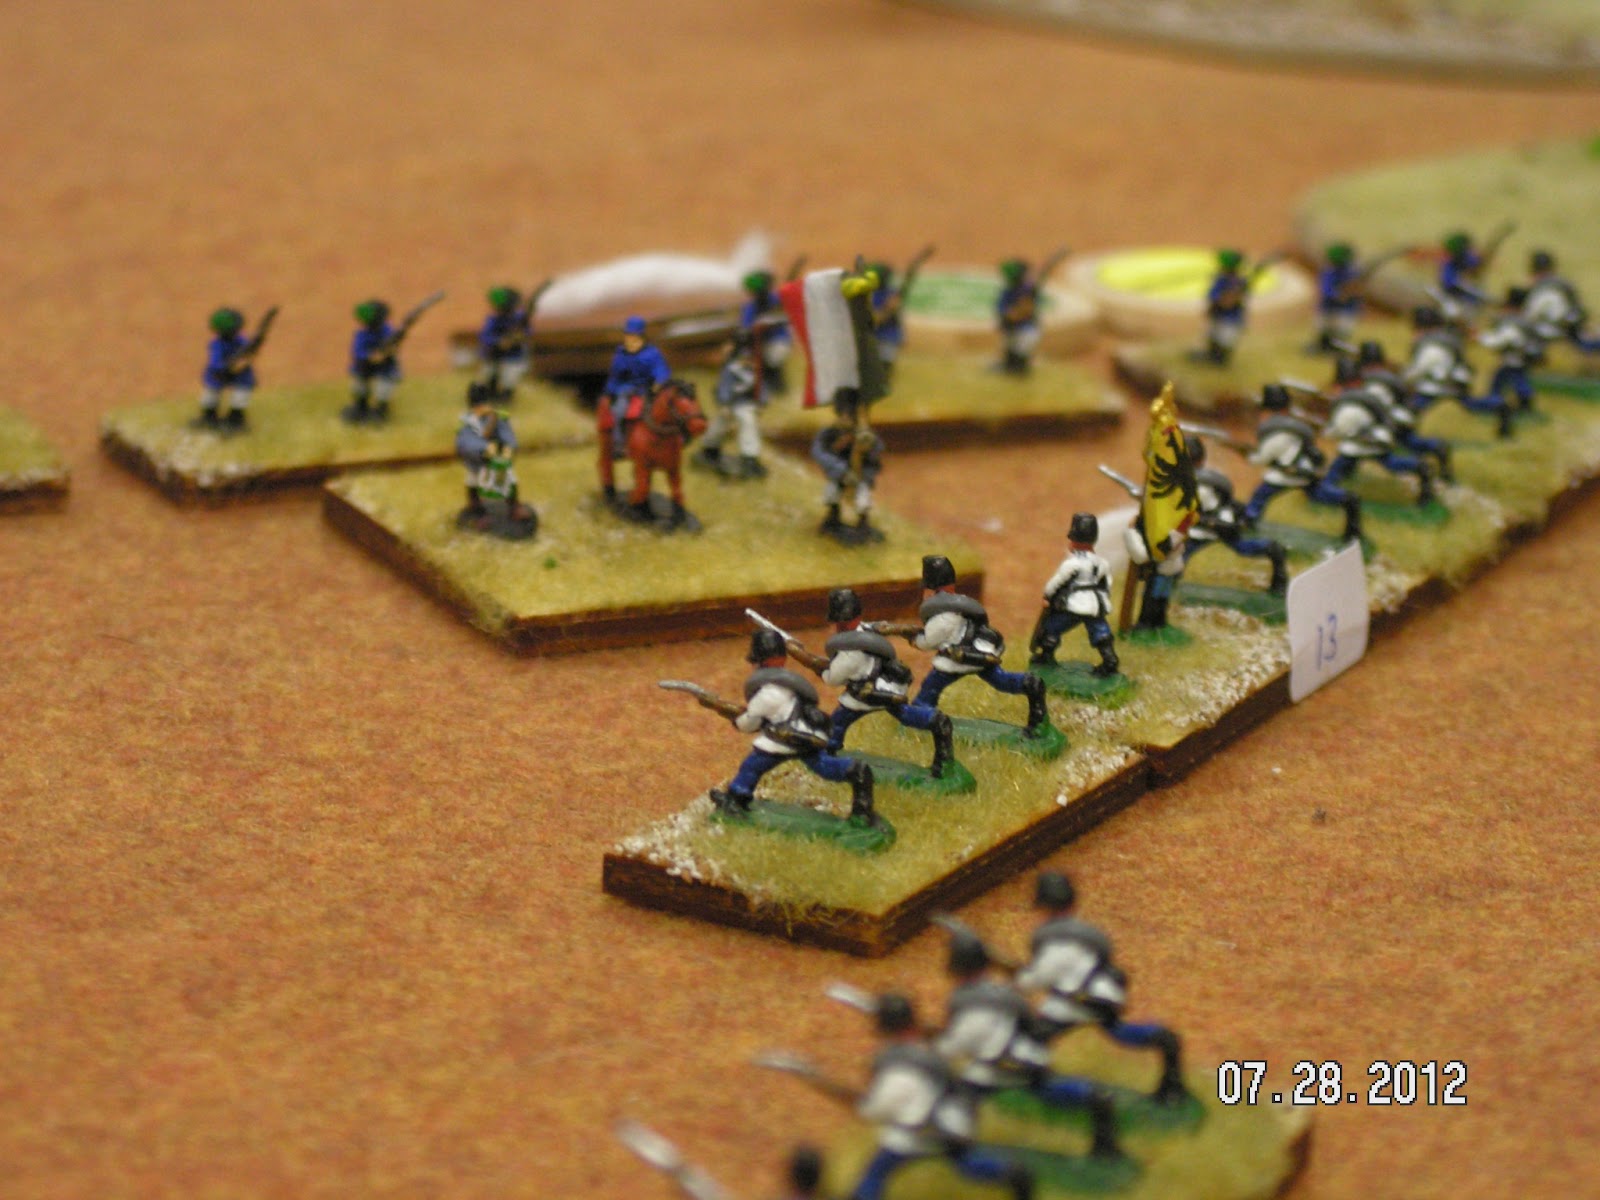
 The battle shifted from the Austrian right to the Austrian left as the Italians pushed on towards the Austrian center.  The Bersagileri lead the way, taking shots at the Austrians forming up in front of them.
 Another view of the Italians as the march towards the Austrians.
The Austrian center shifts to the left and angles itself to receive the on coming Italians.
 Another view of the Austrian line facing the Bersaglieri.
 The Austrian Center. A good view of their left flank being protecting by the line of Austrians.
In a bold move the Austrian Commander pushes his flank line out to meet the Italians.  The Italians answer with opportunity fire.
 The Austrian center with the bulk of the cavalry sitting, waiting for orders.  For most of the battle the flanks witnessed the most action.
Again the battle shifted to the Austrian right as the Italians and Austrians closed.  Both sides suffered major causalities during this engagement.  Both sides lost a total of a unit and a half before any close combat.
 Again the battle shifted to the left, with the Italians getting bloodied.

The impending close combat would turn into a prolonged melee that ate up impetus and morale chips.
 The engagement on the Austrian left sucked in more and more troops and resources as it dragged on.


Each side exchanged lots of fire, causing hits but never enough to kill of stands.
 As the blood bath on the left continued the right side saw both sides waver a little and then the Austrians blinked.  A full unit was destroyed and being out of morale chips the Austrian commander started to pull back his troops and save them for the rest of the campaign.
 The Italian artillery gets off a few last shots.
The Austrian Jagers down a full unit pull back.
 Overhead view looking from the Austrian Left.
 Again the left side heats up with the Italians taken more losses and soon they run out of morale chips.  But a well place shot by the Bersaglieri causes another stand loss to the Austrians and the Italians gain a morale chip.
The battle drew to a close with both sides bloody but the Italians pulling out a Marginal Victory.  After a series of losses for the Italians, this victory put some life back into their Commanding General.  We will have to see if he can carry that over to the next one.

This battle saw some of the longest phases we've experienced in playing Piquet.  Also of note the bulk of the initiative went to the Austrians in the game and they still ended up losing.  That's why we like Piquet. It's unpredictable and nail biting at times but the results never seem unrealistic.