Sunday, May 27, 2012

Back from Enfilade!

Well my friend James and I made our yearly trek up to Olympia, WA to the convention Enfilade. Unfortunately, our good friend Garland couldn't make it this year but despite his absence we had fun. :-)

We arrived early Friday afternoon, checked in and waited for the first session to start.  We bumped into friends we haven't seen since last year and got caught up with them and our friend Dean M. signed us up for his Black Powder game for that evening.  I was looking forward to trying this set out since there's been so much good chatter about them on the web.  During the first session I played in an Imperialism game which pitted me as one of the Zulu players against the British.  We did our best and slaughter a whole lot them brits!

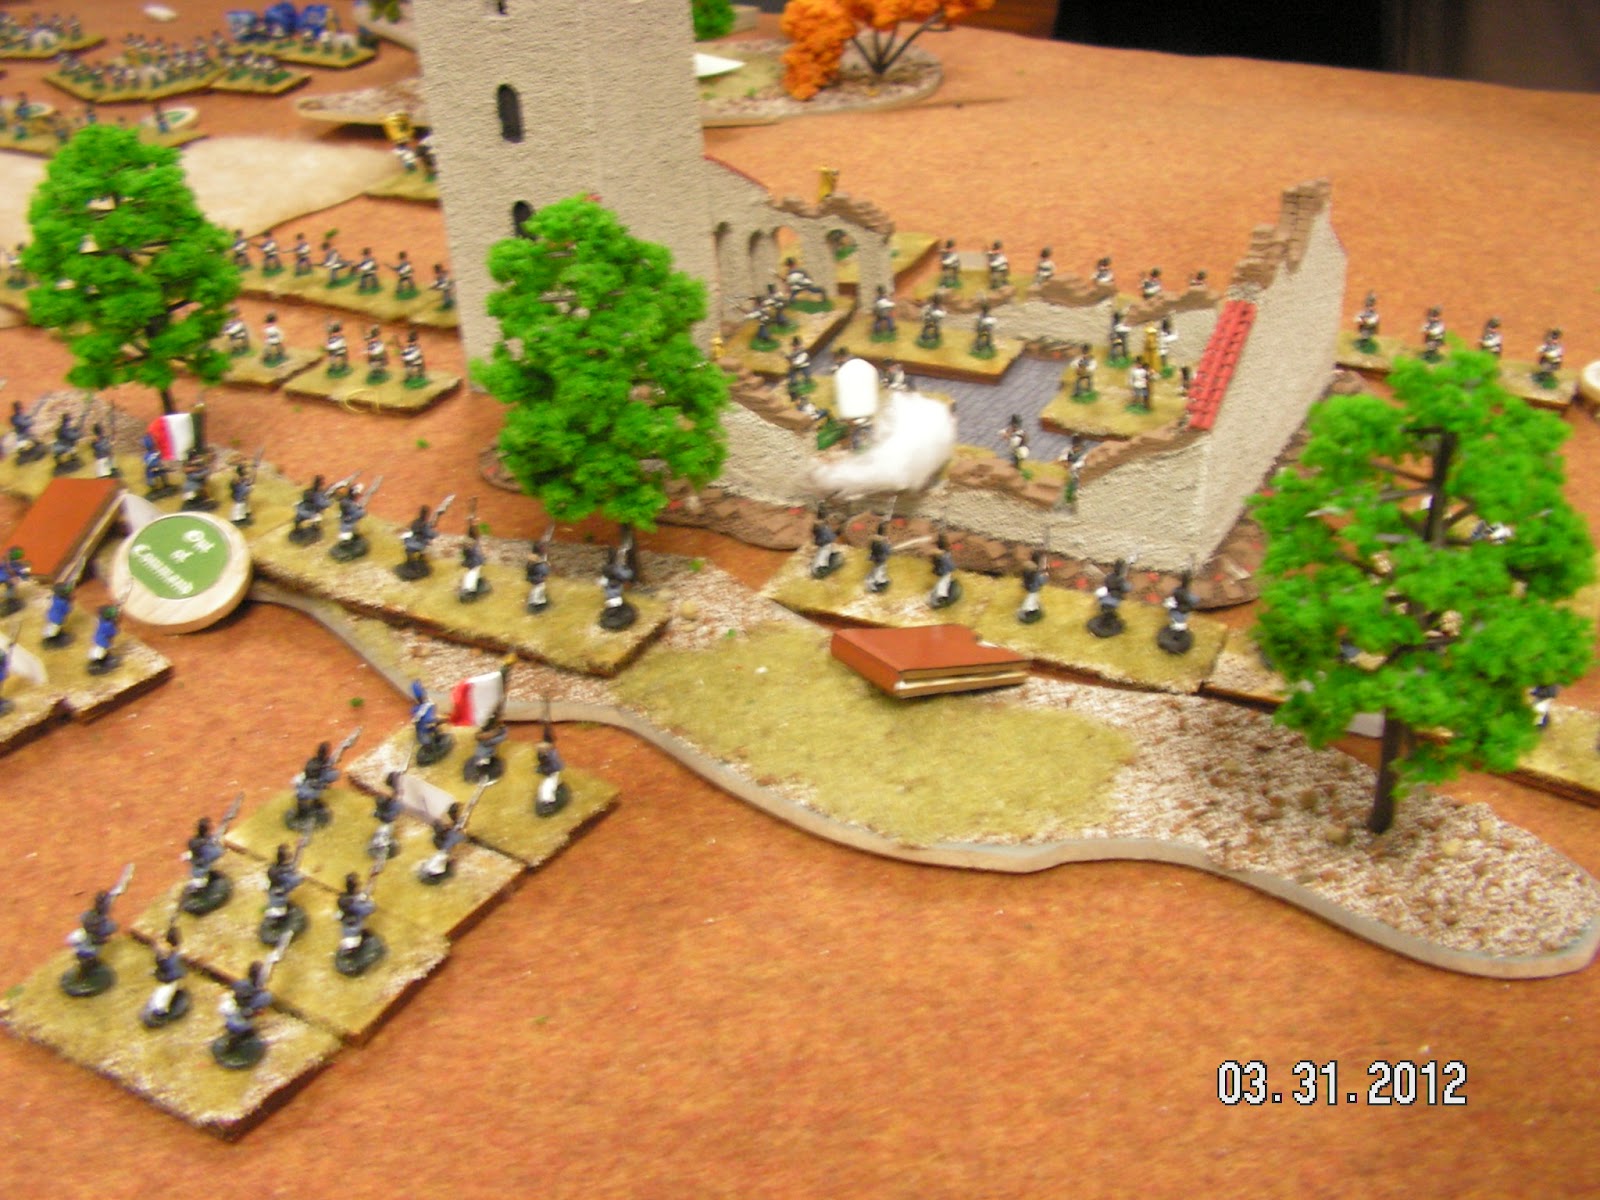
That evening I took advantage of playing in Dean's Black Powder game which pitted the British against the French in Spain.  I was fairly surprised at how quick the game played and just how bloody the game was.  As usual Dean put on an excellent game.  Here's a few pictures from that game.

The game went so fast I was able to walk around and came across this rather nicely setup WWII game in 28mm.  I don't know what rules were being used but the terrain looked great.

Saturday morning I took part in a Ironclad game using 1/600 scale ships and the rules "Sail and Steam Navies" by Bay Area Yards.  The game was put on by Monday Knight Productions.  My group and I have been trying to find a playable set of rules for this period for years.  We have found it.  These rules allowed a great game and we finished the game in 4 hours.  Here are some pictures of the ships used and I believe they are either Peter Pig and Bay Area Yards.  This were all painted by the guys at Monday Knight.


Saturday afternoon, I participated in a Force on Force game, another set of rules I wanted to try, which took place in Africa from their supplement Bush Wars.  The game flowed very well and within a couple of turns we all had the basic mechanics down and were doing things on our own.  I am happy to say that I was the first player to get a win with a force that shouldn't have won.   Sorry but no pictures of this one.
Saturday night, I played in a Warhamer Historical battle using The Great War rules.  I was in command of a Turkish company and we were tasked to take 3 British trench lines.  The British players had some of the most accurate mortar fire, I've ever seen.  One of the players hit a bullseye 3 times in a row on my troops.  My attack faltered quite a lot.  I wan't impressed with the rules at all.  I will stick with Through the Mud and Blood.
Sunday morning I took over flying a jet in a Check your 6 Jet age game.  Within three turns I was shot down. :-)  Oh well no ace status for me today.

Over all I had a great time playing and I'm looking forward to going next year.  Maybe I will get up the nerve to run a battle or two as well.

Wednesday, May 9, 2012

Another game store closes

We have lost another game store and one that my group used many times over the last 2 or 3 years.  It is a shame that the owner had to close up his shop.  Chris' store gave us a warm and friendly place to game and socialize.  So it begins again, trying to find a new place to game that is both accessible for everyone in the group and provides the right atmosphere to game.  Good bye Knight Fall Games.

Thursday, May 3, 2012

Time to fight! 1859

This past Saturday the group got together and did another test battle for our 1859 campaign.  All of these little scenarios have paid off.  This battle went so smoothly, I didn't have to spend the entire night looking up rules and trying to make judgement calls.  The rules are finally sinking in with the group and everything, for the most part, ran well.

This battle was based on the Russians finally turning around and engaging the French after suckering them into following them so deep into Russia.   The Italian general was given his troop roster and told that it was time to fight after weeks of skirmishing with the Austrians and drawing them father away from their supply depots.  The only other command the Italians were given was that they could pull away after 5 turns if they felt they could not pull off a victory.  The Austrian commander was told that the Italians had turned and set up defenses and were waiting for them in a mix of hilly, wooded, wheat field terrain.  Tired and low on morale the Austrians answered the call to battle, but in order to win they had to inflict 2x as many causalities on the Italians as they might receive. That number would prove elusive.

 The Italians are deployed towards the bottom of the picture using the woods, and hills to their best advantage.  The Austrians are massing at the top of the photo.
Some Austrian troops hugging the hillside looking to find a hole in the Italian left side.
 The first several impulses the Austrians gained the initiative and drove for the Italians, moving along almost at will.  The Italian General used his opportunity chips and raked the Austrian columns with cannon fire.

Two perspective shots from the Italian point of view of the on coming Austrians.
 The Italian General stands behind (way behind) his artillery sending out orders, while his elite Bersaglieri wait patiently for the order to charge.
 The Austrians continue to move up.  Even though we use dominoes for our initiative system the Austrian General got lucky each time, picking dominoes with big numbers for self and only 1s, 2s and 3s for the Italians.  The luck was about to change.
More Austrians cresting the hill.
 Within Canister range the Italian Artillery opened fired with devastating results.  The blood bath had begun.  The Austrian moral chip level started to spiral downward.
 Another shot from the center of the battle.
 The fight in the woods seesawed back and forth with an Italian unit disrupting and running but the line behind them charging home and routing a Jager unit.  The woods were a bloody affair for both sides.
On the Italian left, the Austrians succeeded in reaching the Italian line after surviving withering artillery fire.  One Austrian cavalry unit was destroyed with another one only having one stand left.
 A better shot of how the Italians used the battle field to their advantage.
 The bloody fight for the woods.
The Austrians press on in the center but take massive losses and their morale chips are running low.
 The view from the Austrian right (attacking the Italian left).  That hill proved to be a tough nut to crack.
 A more up close photo of that hill battle.
 The Italians are holding it together despite the odds on their left side.
 Gaining the initiative the Italians back off from the advancing Austrians and fire at point blank range again.
 and fire again.
 The Italian gunners wait for their moment to shine once more.
One final volley and the Austrian morale chips are exhausted and the army breaks and runs.

This battle was fantastic to watch.  The Austrians literally had the initiative from the start, but the Italian general used his opportunity chips to thwart the Austrian advance at every turn.  The battle was won clearly by the Italians and we finished the game in roughly 3 1/2 hours.  The thing I did differently with this battle was only allowing the generals to roll for their units fire/melee/morale values at the point where they were attacked or attacking.  This added a few tense moments for sure.  I rather liked it and so did the two generals.  Again we use Piquet's Hallowed Ground as our rule set.
Hope you enjoyed reading it.

Battaglia per il monastero 1859

Yes it has been a long time since I posted.  Just too much other stuff going on around here.  Although, my group and I have gotten in some games over the last month or so.  This battle was at the end of March.
Hopefully I have gotten my Italian correct.  If someone out there can verify it, that would be great.  My Italian is very rusty.

The Battle of the Monastery 1859


After weeks of on again off again skirmishing between the Italians and the Austrians, the Austrian commander decided to force a battle after having gathered what he thought would be enough troops to defeat the Italians.  Italian scouts reported a massing of troops around the old monastery and that there were more troops coming in every day.  Not wanting to fight a battle dictated by the enemy, the Italian commander forced the Austrians into a fight by attacking first.  Hoping it would catch them off guard and claim an easy victory.   He was wrong.

While waiting for the rest of his troops to arrive the Austrian commander built a solid defense around the monastery but never really expected the Italians to attack.

 The Austrians hold the Monastery on the right and one of the Austrian Commanders (Kevin) deploys his troops.
The Austrians built their defense in depth, using the tree line and the monastery itself as protection.  This would prove a tough nut to crack.
 Austrian cavalry waits for the coming battle.
More Austrian troops protecting the flank of the church and holding the high ground.
 The Italians line up, ready to march over the open ground.
 More Italians waiting for the orders to attack.

What the Italians had to go up against.  Doesn't look good.
The Italians move in taking very little causalities but also not causing many.  This fight was going to be fought in very close quarters.
The Italian right did not advance as quickly as the center or left and the Austrian cavalry took advantage of the hole and charged into the flank of the guns and troops after routing some infantry.
What I didn't get a picture of was the unlimbering of the artillery and the effect of canister on the cavalry as the tried to charge home.  It wasn't pretty.
 These poor Italian soldiers didn't stand a chance against the cavalry.
The Italians broke through the first line of defense but the monastery would prove more difficult.
 The Italian left side comes up on more Austrians waiting.
 View of the battle from the Austrian point of view.
The Austrians deployed in depth facing the Italian left.
 The Austrians holding their ground.
The Italian cavalry finds some cover behind the trees.

We called this battle due to time.  Neither side had really broken the other and there was still plenty of morale left on both sides to continue the fight.  I was sorry to see this one end this way.  Again we used Piquet's Hallowed Ground and this was another test battle to familiarize ourselves with the rules and so on for our campaign.
Hope you enjoyed the battle report.