Well today was the day to attempt the full size terrain mat. On Thursday I did a smaller 4'x4' mat to try out a few other things that I learned or others had suggested from my first attempt. This time instead of clamping the canvas down to the wood itself, I had two 8' 1x3 pieces of wood cut in half. Using the canvas that over lapped the table I clamped those pieces of wood to the canvas giving me the full surface to work on. However the practice canvas I did on Thursday shrunk significantly, almost 3/4". So today I still clamped the boards to the canvas but I then drove some wood screws with washers into the edges of the plywood table to hold the canvas as well. The clamped boards helped in pulling out the wrinkles and screws then helped in holding it into place.
Now the other thing I tried differently was the mixing of the caulking, sand and paint mixture. I stopped at our local Fred Meyer (grocery store) and picked up an $8 hand mixer. I poured the paint, sand and caulk into my bucket and then used the mixer. It worked great! It cut my mixing time in half. Unlike my first time I didn't put in any water just to see how thick the mixture was and it was pretty thick. I used about a 1/2 cup of water and blended that into it. That helped a great deal.
So my mixture contained
4 tubes of acrylic painters caulk
1/2 gallon of latex paint
1/2 cup of water
enough sand to cover the bottom of the bucket. You don't need a lot of sand for this, goes far when mixing with paint.
This amount covered a 4'x8' mat with nothing left over in the bucket.
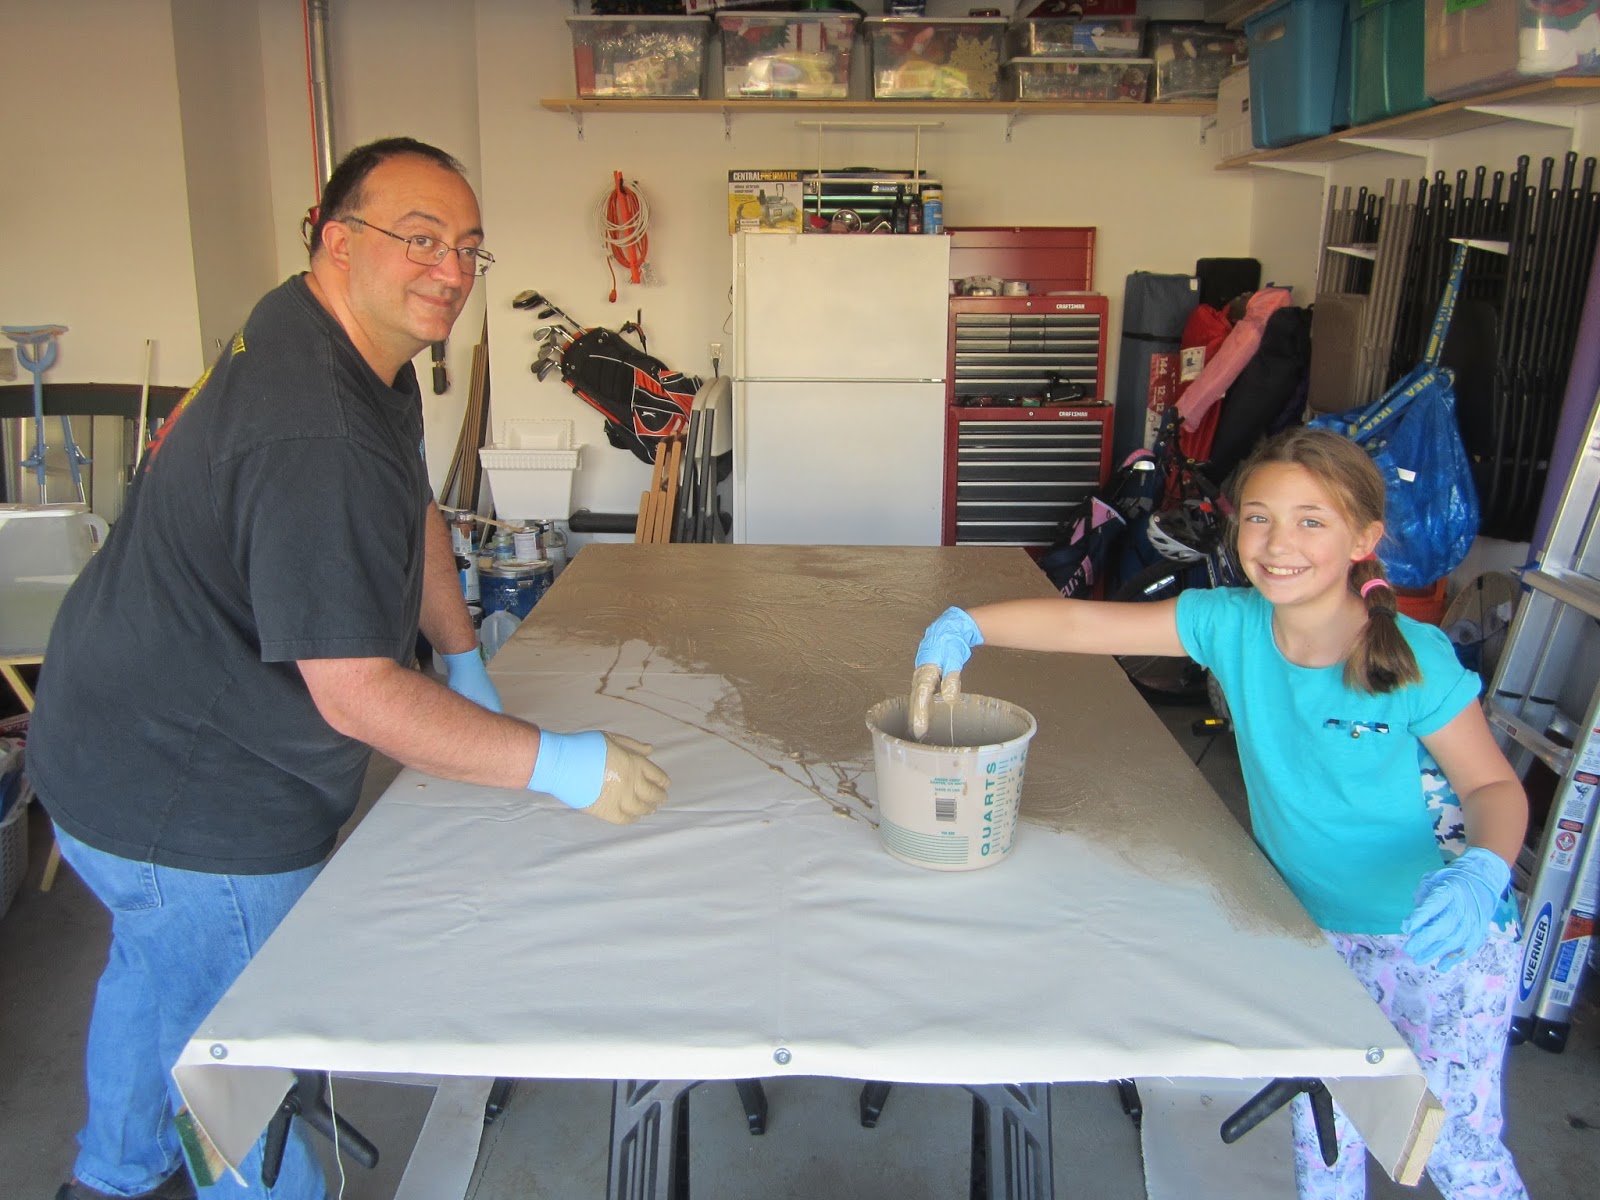
The first time she stuck her hand in the bucket she freaked and said, "Daddy my glove has a hole in it. I can feel the paint!" I told her she didn't but what she was feeling was the cool temperature of the paint. Soon she was smearing the stuff around like a champ!


My wife came out and took some pictures of us. This process went very quickly.

The mixture has been applied. You will notice that the edges were also painted. So when the canvas shrinks the color will go right to the edge.


My daughter sifting the flocking over the paint. Using a big metal spoon I picked from Goodwill and a strainer the flocking comes out nice and smooth. No large clumps at all.


The finished product. I didn't take a picture of it but the closest edge had already shrunk some from the paint. I'm glad I tacked it down with the screws and washers. It will now sit over night and tomorrow night or Monday night I will hit it with some Woodland Scenics' Scenic Cement.
This mat will make it's gaming debut on 11/7. Can't wait!
Very nice battle ground, Sir and Miss.
ReplyDeleteVery nice results, Vic. I'm surprised your daughter was a bit hesitant with the goo - I recall finger painting in grade school fondly :)
ReplyDeleteLooks great Victor!
ReplyDeleteIt looks promising! Well done to you both.
ReplyDeleteLooks good, shows what help a willing assistant can be. ;)
ReplyDeleteEscreva para a gente através dos comentários!
ReplyDeleteVery rapidly this site will be famous among all blog users, due to it's good content
ReplyDelete