Monday, January 17, 2011

Guelfs vs Ghibellines

This past Saturday I ran a medieval battle using Piquet's Band of Brothers 2.  The battle represented a fictional but probable battle between two Italian factions: The Guelfs and Ghibellines.  These two factions controlled portions of Italy during the medieval period and are partly responsible for the expansion of the Italian City States.

The forces worked out like this:
Guelfs
2 units of Spearmen with Heavy Armor
2 units of Militiamen with Spears and Medium Armor
1 unit of Peasant Foot with Improvised Weapons and Medium Armor
1 unit of Skirmishers with Cross Bows and Light Armor
1 unit of Guards with Cross Bows and Spears and Heavy Armor
1 unit of Javelinmen with Javelin and Swords and Medium Armor
2 units of Knights with Heavy Lance and Heavy Armor and Cloth Barding
1 Skilled Commander, 1 Average Sub Commander and 1 Poor Sub Commander

Ghibellines
2 units of Militiamen with Spears and Heavy Armor
2 units of Militiamen with Spears and Medium Armor
1 unit of Javelinmen with Javelin and Swords and Medium Armor
2 Units of Knights with Heavy Lance and Heavy Armor and Cloth Barding
1 Average Commander, 1 Average Sub Commander and 1 Abysmal Commander

The Ghibellines in this battle were out numbered and while they almost matched the Guelfs command wise it would be a close battle for them.  The Ghibellines got lucky in that they ended up defending for the entire battle and they picked the only hill on the board to give them an advantage.
The Ghibellines all ready for the fight.

These shots show the Guelf starting positions.  I do have to comment here that my friend commanding the Guelfs decided to not to place his army in the original positions I had marked out for him.  He decided to place the army like they had just arrived and needed to shake out for the battle.  Due to this decision it prolonged the game a little bit more than I had hoped.

Just a quick note we do not use the written initiative system using the opposing D20s.  We use dominoes  with the side winning the initiative using the Higher number of pips and the losing side using the lower number.  It moves the game along and no one sits for too long waiting for his/her turn.

The battle started off with the Ghibelline player winning the initiative and opting to go second.  The Guelf player pulled the first dominoe and started to move his troops.  The first few moves were the Guelfs moving into range and shaking out into battle line.
The Guelfs inch forward.
The Knights on the right side of battle made contact first with the javelin skirmishers.  The skirmishers evaded the knights.  In the process the skirmishers did their job as they drew the Knights almost out of the battle as they followed.
The Ghibellines held their ground despite their lack of numbers and only shifted their units to attempt to match up the attacking Guelfs.  The Guelf commander decided to finally charge his front line units while his crossbow unit provided some harassing fire.  Soon the Ghibellines were going to wish they were up higher on the hill.
 The first routed units make it back to the stream and huddle together hoping they can go home.
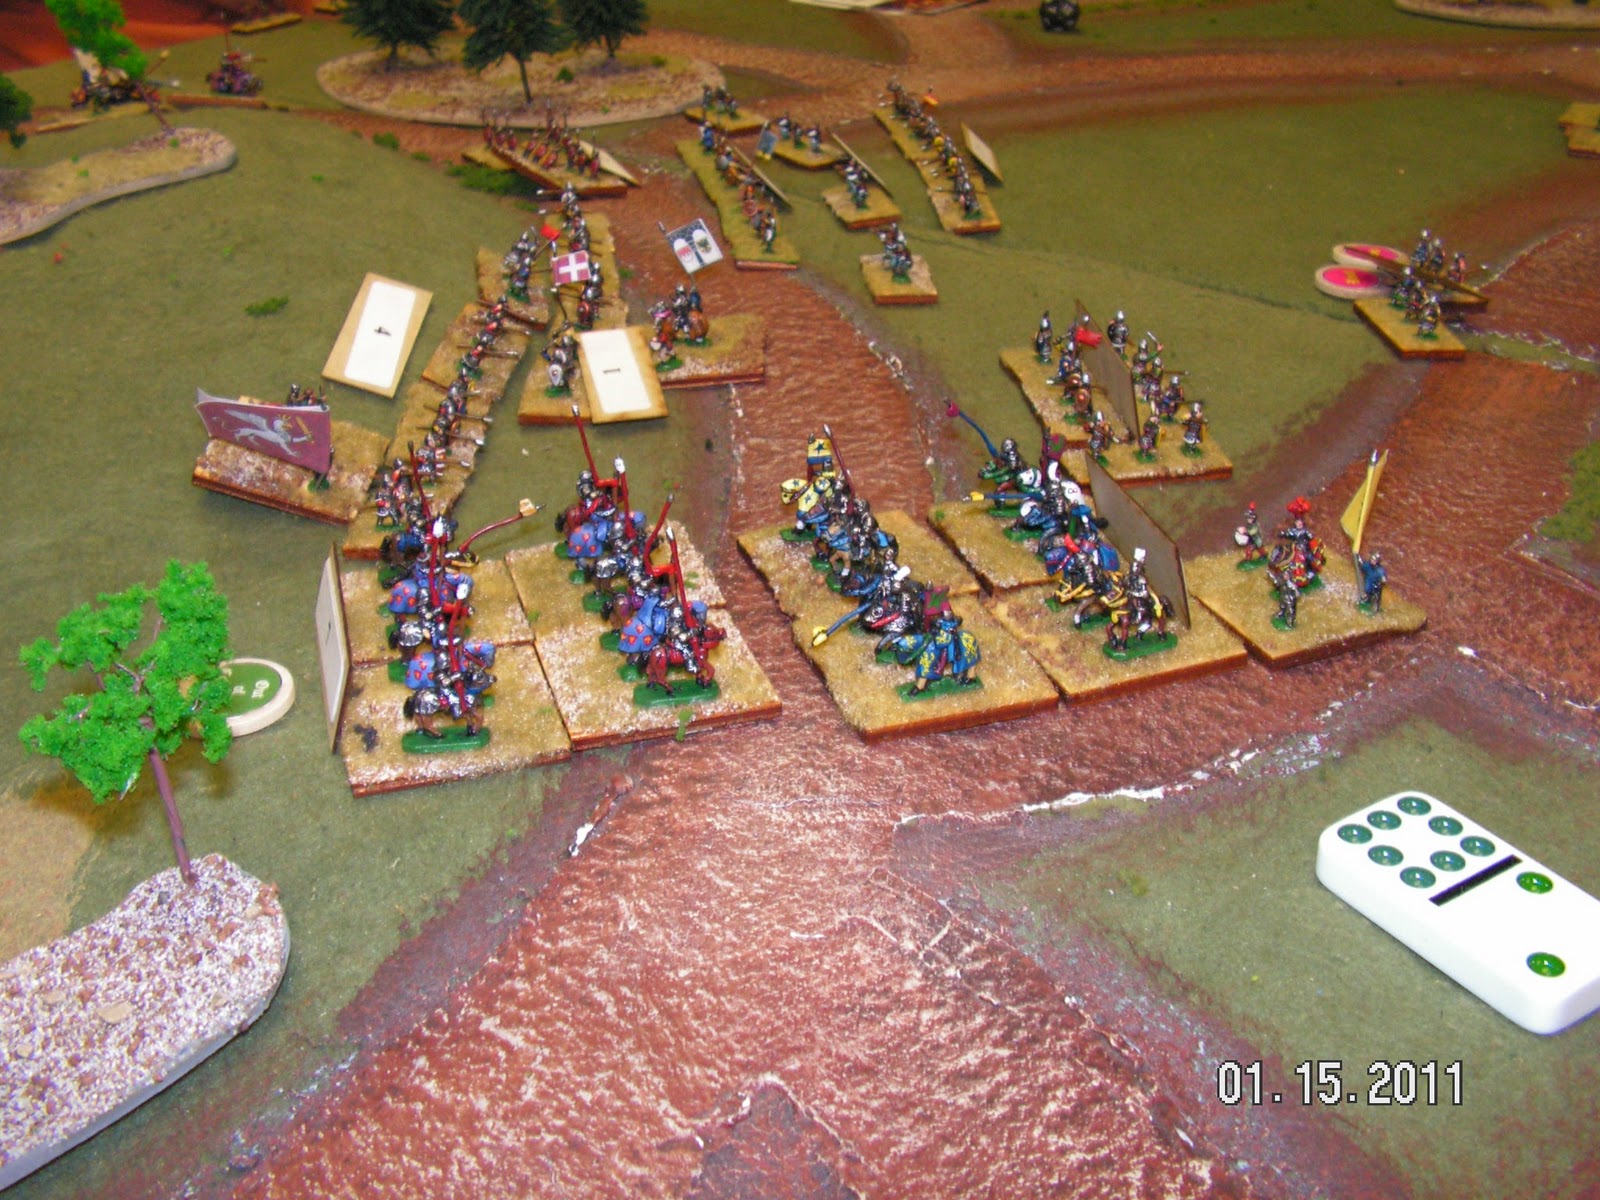
The knights on the left side charge but the Melee Resolution Card never appeared.  Previous to this on the other side of the battle the Knights who had chased the skirmishers finally got back into the battle and ended up charging uncontrollably into the flank of the Ghibelline Spearmen and in return were flanked by the Ghibelline Knights.  The Guelfs routed away after taking 9 hits (or 3 stands).  At this point the Ghibellines were out of Morale chips and the Guelfs were down to two left.
We had to call the game because of time.  We will revisit this battle again.

Saturday, January 8, 2011

Goals for 2011

I usually don't plan out what direction my gaming projects will go, but this year it seems that I have one too many items on my work bench and twice that many swirling around inside my head.  So in order to keep myself focused on the tasks at hand, I have decided to put out in the open my plans for this year.

Projects to Complete: 20mm AWI for Sharps Practice.  I was able to play Sharps Practice at Enfilade in May of 2010 and instantly wanted to use these rules for the American Revolution.  Currently I have 46 British Regulars done with a another 46, three quarters of the way completed.  92 Rebels are primed and waiting in the wings.
Another set of 20mm WWII figures and tanks to finish up for my 1:1 project using the rule set Nuts!.  There are 50 Americans waiting to be primed and 4 tanks that have just been built also waiting for primer.
15mm WWII American Infantry for I Ain't Been Shot Mum!.  I have most of what I need to run a game but these are just to flesh out my collection and make it more versatile.
Sitting on the back burner has been a small collection of 1/144 scale WWI aircraft that was started a few years ago and continues taking up space on one of my selves.  Time to finish them!

New Projects: A couple of the guys in the group want to take the plunge into the Seven Years War.  One of them already has some Austrians that needs to be painted while an opposing army needs to be collected and painted.  This one will take some time I think to get started.
The next project has been one that I have dreamed about doing for some time.  I love pulp fiction style stories, the hard nosed detective, Spies running around during the 1930s, adventures a la Indiana Jones.  After asking some questions and doing some research I have settled on two sets of rules to try out.  The first is .45 Adventure by Rattrap Productions and the second Larger than Life by Two Hour War Games.  I have started to sketch out a story line for the characters to follow and in the process to give me an idea of how many figures I need to purchase and the type of terrain I will need to build and paint.
About three years ago I made my first set of terrain boards.  This year I plan on making some new ones. Which will include improvements on the first ones, lessons learned and so on.
I also need to expand on the amount of terrain, meaning, buildings, bridges and so on for 15mm, 20mm and 28mm games.  I picked up a vacuform piece of a bombed out town from Enfilade this past year and I hope I can get it painted this year.  I primed the piece already and was going to start painting it and then chickened out when I couldn't decide on how or where to start with the piece.
WWI 15mm Turkish soldiers to do battle against my Russians using Through the Mud and Blood.

Games for the new year: This year will see a bigger mix with our groups gaming.  Last year our games revolved around finding and securing a WWII set of rules and we settled on I Ain't Been Shot Mum! and Nuts!
This year I am planning on using my collection of medieval figures using Piquet's Band of Brothers and Piquet's Field of Battle for my Italian War of Independence figures.  We are also planning on using Check Your Six's Jet Age set of rules.  Luckily one of the other guys in the group has the rules and planes for this.
Also one of the guys is planning on running some games at Enfilade for this year so we will be helping him play test those using Napoleonic Fire and Fury.
As well we will continue with battles during WWI and WWII.
Its a good thing we can get together two times a month to game.

I think that is it.  Phew!  It is a lot but it will be fun.

Thanks for putting up with my rambling.  I hope you all have great plans for your gaming year as well.

Friday, December 31, 2010

HAPPY NEW YEAR!!!!!!

To everyone who surfs past this blog, from my family to yours Happy New Year.  May you be prosperous and healthy in 2011.

Saturday, December 25, 2010

War Gaming Christmas Present

My wife and daughter bought me the best war gaming gift ever for Christmas.  How lucky could one guy get?

Friday, December 24, 2010

MERRY CHRISTMAS!!!

From my family to yours: Merry Christmas and Happy New Year!
I love this poem, I hope you will enjoy it too.

Wednesday, December 22, 2010

Looking for the maker of these bases

I am on a mission to find the maker of these bases.  I bought these bases a few years ago and I don't remember who made them or where I bought them, so I'm looking for some help in finding out who carries them.  They are plastic and I believe they were being sold as bases for ships, but I'm not entirely certain about that anymore.
If you know please leave a comment for me.  I appreciate your help.


Saturday, November 13, 2010

Closing the Circle: 1914

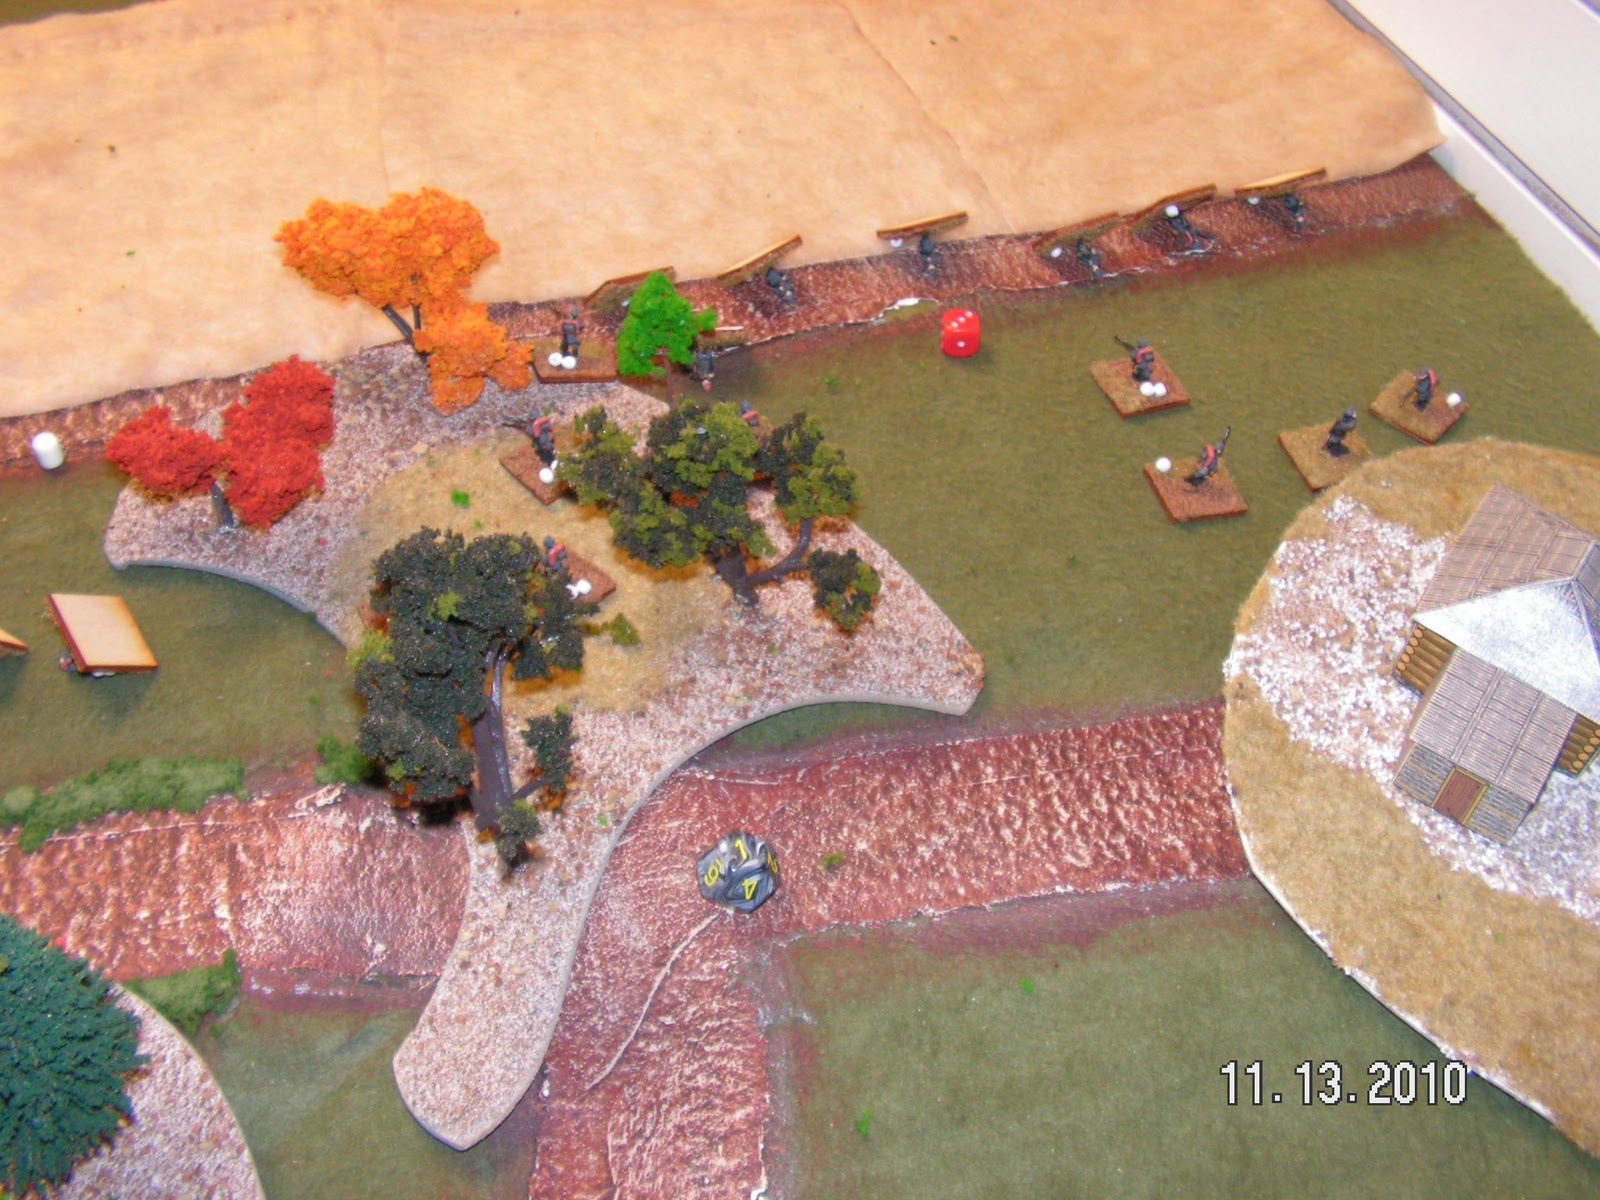
Played another game of "Through the Mud and Blood" by Too Fat Lardies this evening.  I borrowed another scenario from the "Stout Hearts, Iron Troopers" scenario book and instead of having the USMC attacking a dug in German force, I place the Germans in the attack with a hastily dug in Russian force.  Borrowing from the readings of Dennis E. Showalter's book "Tannenberg, Clash of Empires" and drew up a hypothetical battle.  Based on my reading of the book I found that a similar situation occurred where the Germans started to close in the Russian army.  The Russians in one area had dug in along a wooded area in the attempt to stop the advancing Germans.  The Germans had to cross a long open field before reaching the woods.  The scenario in the Lardies supplement worked the same way.  So I made my adjustments and drew up the two opposing side's orders.  The Russians had four squads, each with a big man.  The squads were not at full strength. One squad had as few as five men left.  They had one SOS barrage (or whatever the Russian term is for this) and a HMG.  The Germans attacked with two Platoons of four squads each and only a Prelim Bombardment to start off the game.
Here's a picture of the table before the setup of the blinds.
The fields in the middle are suppose to extend all the way across the middle of the board but I did not have enough felt for that (so in your minds picture it that way.)  The Russians are dug in along the tree line on the left edge of the board, the Germans start on the right side just behind the edge of the fields.
Here you can see the starting positions of both sides.  The Germans have tough fight ahead of them.  The fields only provide cover if the Germans go to ground, other than that the fields are a hinderance to sighting and movement.
Some really good spotting rolls by the Russian commander reveals some German squads as they dash across the fields.
A view of the Germans attempting to cross the field.  Since I was playing the Germans, I had decided to use all of my dice for movement.  I wanted to avoid getting caught in the open.  I ended up not being that lucky.
The Russians Forward Observer called in his SOS Barrage and bad things happened from then on for the Germans on the right hand side of the board.  The initial barrage caused 10 causalities in three different squads.  From then on the right side of the battle folded for the Germans.  Other than one squad who made it across the field and came into close combat range and then promptly lost and fell back, not one squad advanced any further than the trees.
The left hand side of the table was a little different.
The left hand side of the table went the German's way from the beginning.  The prelim-bombardment did some damage to the Russians facing these Germans and that caused the Russian rifle fire to be ineffective.  Again a mad dash was made across the field, since I was totally expecting another shower of artillery shells to land.  It never arrived.

The Germans kept advancing and firing and caused the Russians to lose their Bottle (or rout) due to excessive shock points.  It was at this point that the Russian commander called the game.  Once we had decided to stop playing, I found out why the second SOS barrage never arrived.  The Russian commander misunderstood the pre-game briefing and thought he only had one chance at firing the barrage, where in truth he had at least one more barrage to drop.  We called it poor communication between the Russian high command and him.
We had fun with this scenario and will be trying it out again in the near future.  Here are a few other photos from the game.