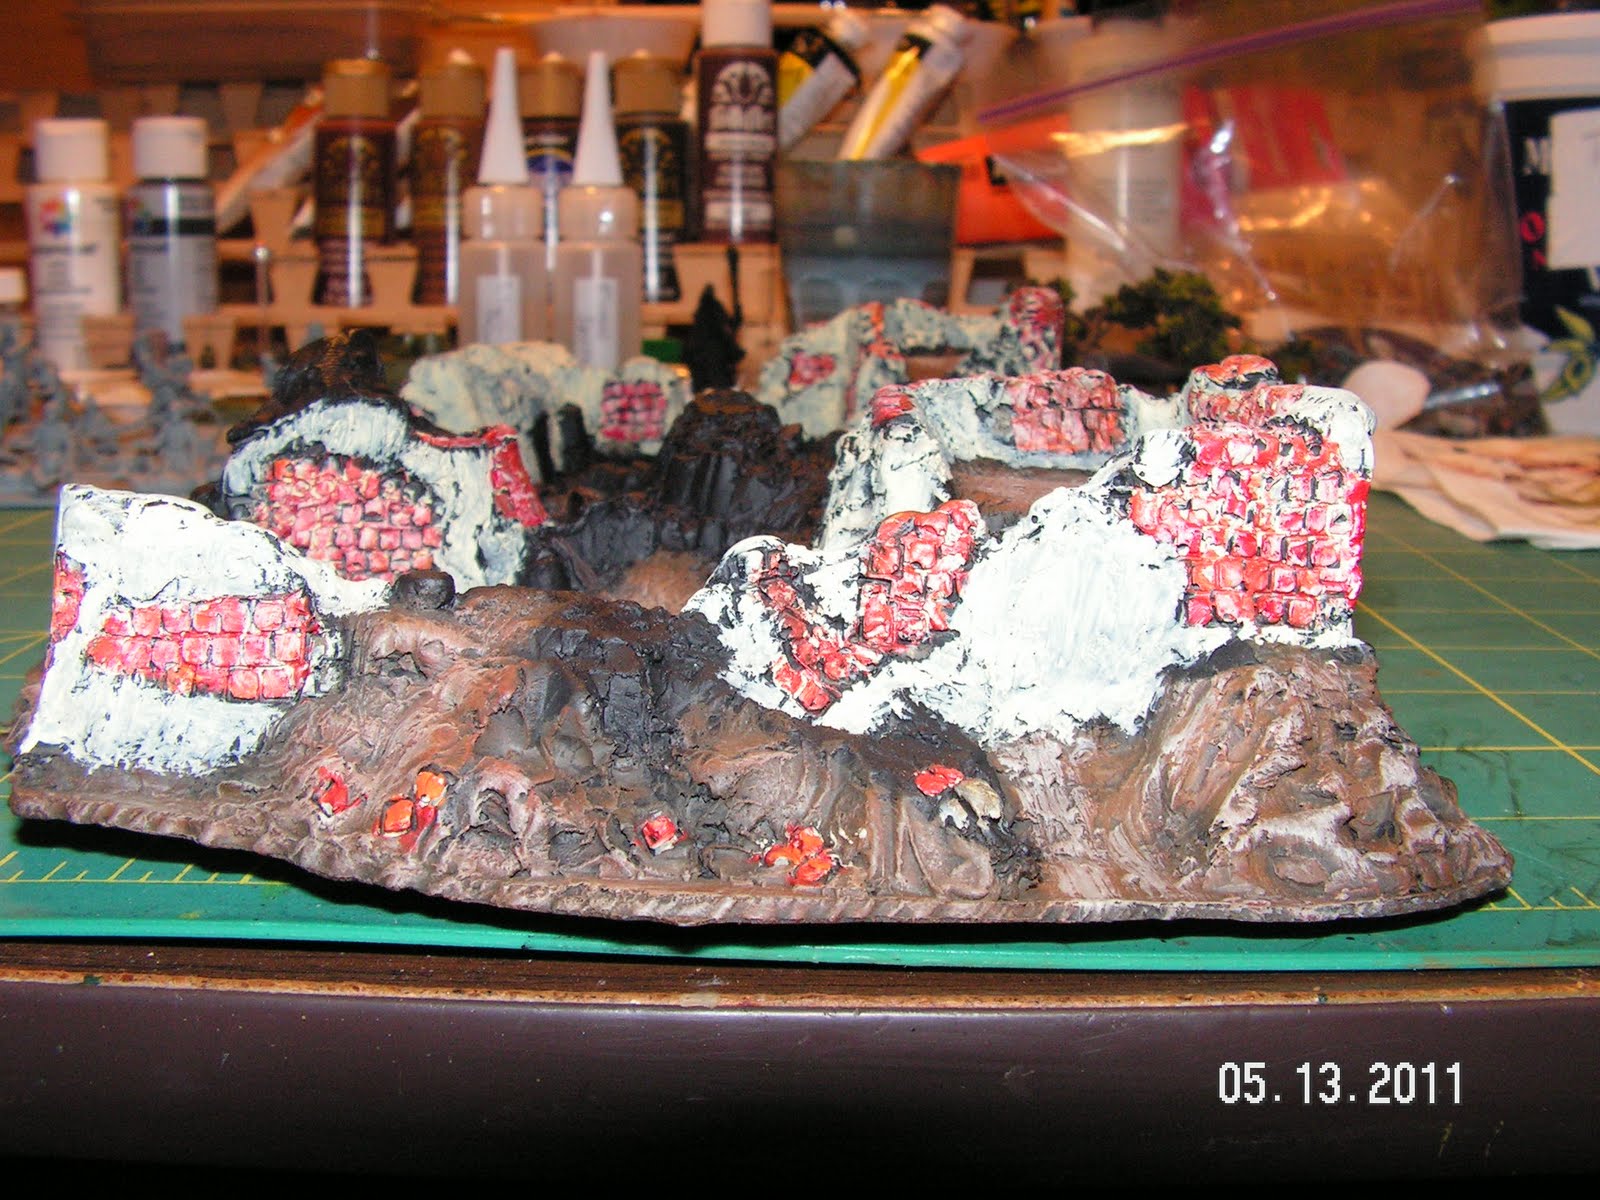
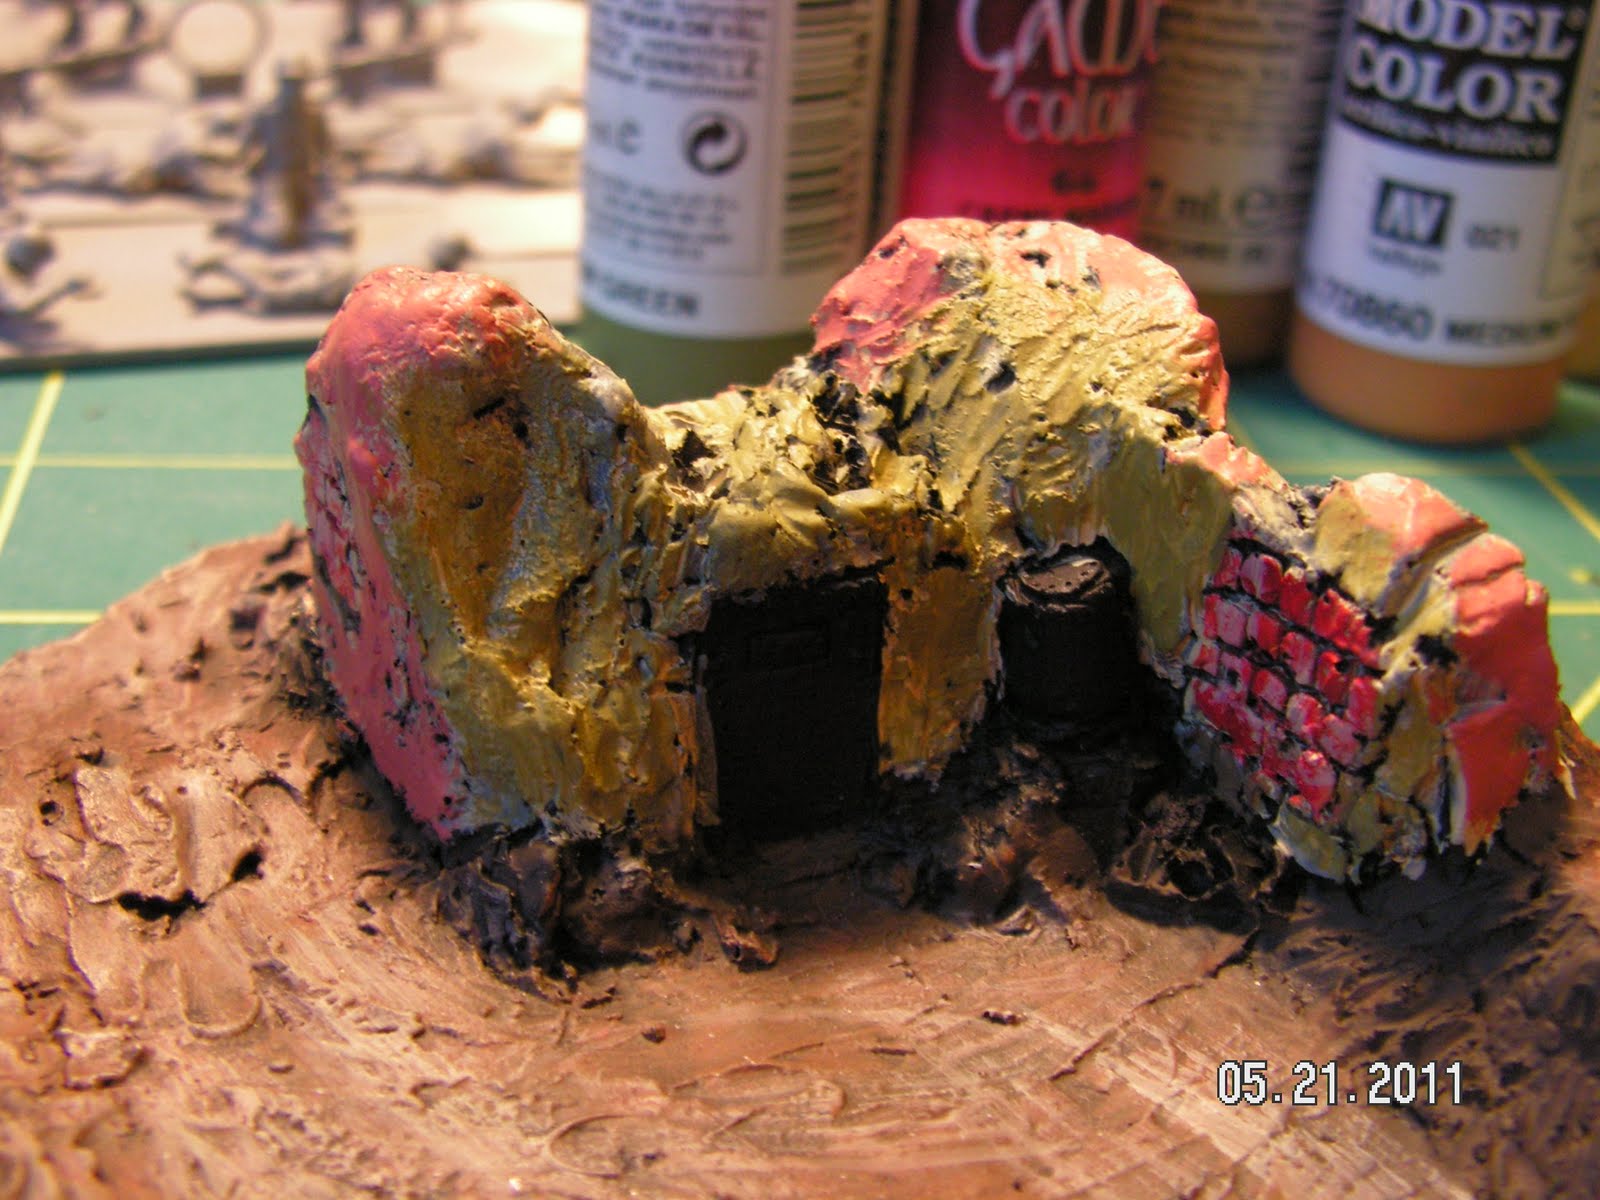
Well I've been able to work on this piece a little bit more and I have continued with the walls. Last time I had worked on the brick work, now I finished off the plaster covering the walls.
The first layer of paint to cover the black undercoat was Vallejo Dark Sand. I went with a light color to help simulate the color of unpainted plaster. In this way when I dry brushed the colors over it some of the "plaster" would show through as chipped paint and aging. At least that is what I was hoping it would accomplish.
The next step was to paint the actual color on the plaster. I decided that the walls of each "building" would be different and the interior walls would also require different colors. Here is what I picked: Vallejo Flat Green, Yellow Green, Cam. Orange Ochre, Medium Fleshtone and Game Color Tan. Once the base color was applied I then took some Light Grey to create a highlight for each one.
After the paint dried I took out a dark brown chalk pastel and then rubbed it vigorously over the walls and bricks. This added to the dirty look of old walls and the start of damage. In order to keep the pastel color on the walls while I painted the rest of the piece I sealed the walls with a matt varnish. This also helped to tone down the bricks a little bit as well.
I will go back and add rain streaks and battle damage to the walls now without ruining the effort I've put into the walls. After that, I will tackle the wood boards, metal sheets, and other parts of the piece that look like nothing more than just molded dirt.


Looking better and better.
ReplyDeleteThe trick with the pastel really made all the difference, toning down the colors and weathering the bricks and walls. I would have dry brushed them, so I'll have to keep that in mind for the future.
ReplyDelete