Thursday, June 23, 2011

Where did they come from? Sept. 1, 1914

This past Saturday my group and I ran a combined game of Through the Mud & Blood and Platoon Forward.  Both rule sets are published by the Two Fat Lardies.  Platoon Forward is a supplement that allows you to create scenarios, either linked or one off battles, and create leaders that one can follow through the series of battles.  It is wonderful for solo play or with a group.  The set was designed with World War II in mind but with a few simple changes I was able to amend some of the charts for World War I.  I purchased the set to help with scenario generation but after reading through the set I decided to try a short campaign with the group and drew up two opposing sides.  The first battle ended up being a Flank Attack with the Germans attacking some dug in Russians.

The scenario is set up with the defender dug in and expecting an attack from the south.  The attacker rolled a d6 to pick their starting point.  They rolled a 2 so they entered the board on the left of the Russians coming in the middle of the board.  The attacker also received a HMG firing from the south (off board) to help pin/harass the Russians.  The Germans were also given as a pre-game event and aggressive streak for the game and the Russians picked an extra move card.

The board was set up with the Russians holding a key cross road in the middle of the board.


 The battle started off the receiving some off board HMG fire that turned out to be in-effective.  The next card turned over was the pre-planned artillery card for the Germans.  With some great die rolling the German player landed the artillery exactly where he wanted.  The Russian player rolled in secret any and all shocks and kills.  The next card allowed the Germans to enter.
Soon the Russians were on the move to counter the attack.
The Germans took a bold move and rushed the dug in russians in the field and took a beating.  This failure seemed to derail the German attack.  They became less aggressive in trying to press home their flanking move.

The Germans were able to out flank the Russians in the field  and forced them to retreat after losing their bottle.  This would be the farthest the Germans would advance.
Stalled on the small hill the Germans took a beating from the Russian HMG and the forming line of infantry.


Around the 6th turn the German player called in and said he could not push forward and retreated off the board leaving the Russians with a victory.

Some mistakes I made with this scenario was the ability of the Russian commander to react so quickly to the advancing Germans.  I should have limited the Russians in some way, either requiring one of the squads to send a runner back to warn of the attack or doing something where the Russians could activate certain blinds depending on how close the Germans got to certain terrain pieces.  Without the limitation the Russians were able to throw everything they had at the Germans within a turn or two and the surprise was lost completely.  Another mistake I made was limiting the off board HMG to only fire when its card came up, instead of giving it a chance to fire once every turn.

I will be running another scenario using Platoon Forward next month with the same leaders/squads.

Monday, June 13, 2011

Terrain Conundrum: The Final Chapter

I know it's been a little bit since my last post but life has again gotten in the way of my fun.  I have finally finished the terrain piece I've been working on and I think it has turned out pretty well.

In my last post I believe I finished painting the walls and giving them a dusty look with a chalk pastel and then sealed the walls with a matt varnish.  From this point I started to work on the little pieces wood, rocks and metal that were molded into the piece.  I had thought about purchasing or making some extra bricks out of basswood.  I was unable to find anything already made that was in the right scale.  The basswood didn't work out either as trying to cut the wood into a small enough pieces.  So I decided to skip this and just work with the debris that was already on it.


I worked on painting all of the metal parts first and then moved onto the broken pieces of wood.  I did purchase a great weathering powder called the "Weather System" by Bragdon Enterprises.  The rust pigment did wonders to the metal pieces.  Using an old toothbrush I was able to vary the amount of rust on each piece.  The harder I rubbed the powder with the brush the better it looked.  I highly recommend this powdered.  I sprayed a matt varnish over the whole piece to seal the paint and powder.  I like how it turned out and I can't wait to get it on the table for it's first game.

Thursday, May 26, 2011

Off to ENFILADE tomorrow!!!

Myself and two of my gaming buddies are driving up to Enfilade tomorrow for 3 days of gaming.  We can't wait to get there and start rolling dice.   If I remember to bring my camera I will post pictures of the games etc....

Wednesday, May 25, 2011

Terrain Conundrum part IV

Well I've been able to work on this piece a little bit more and I have continued with the walls.  Last time I had worked on the brick work, now I finished off the plaster covering the walls.
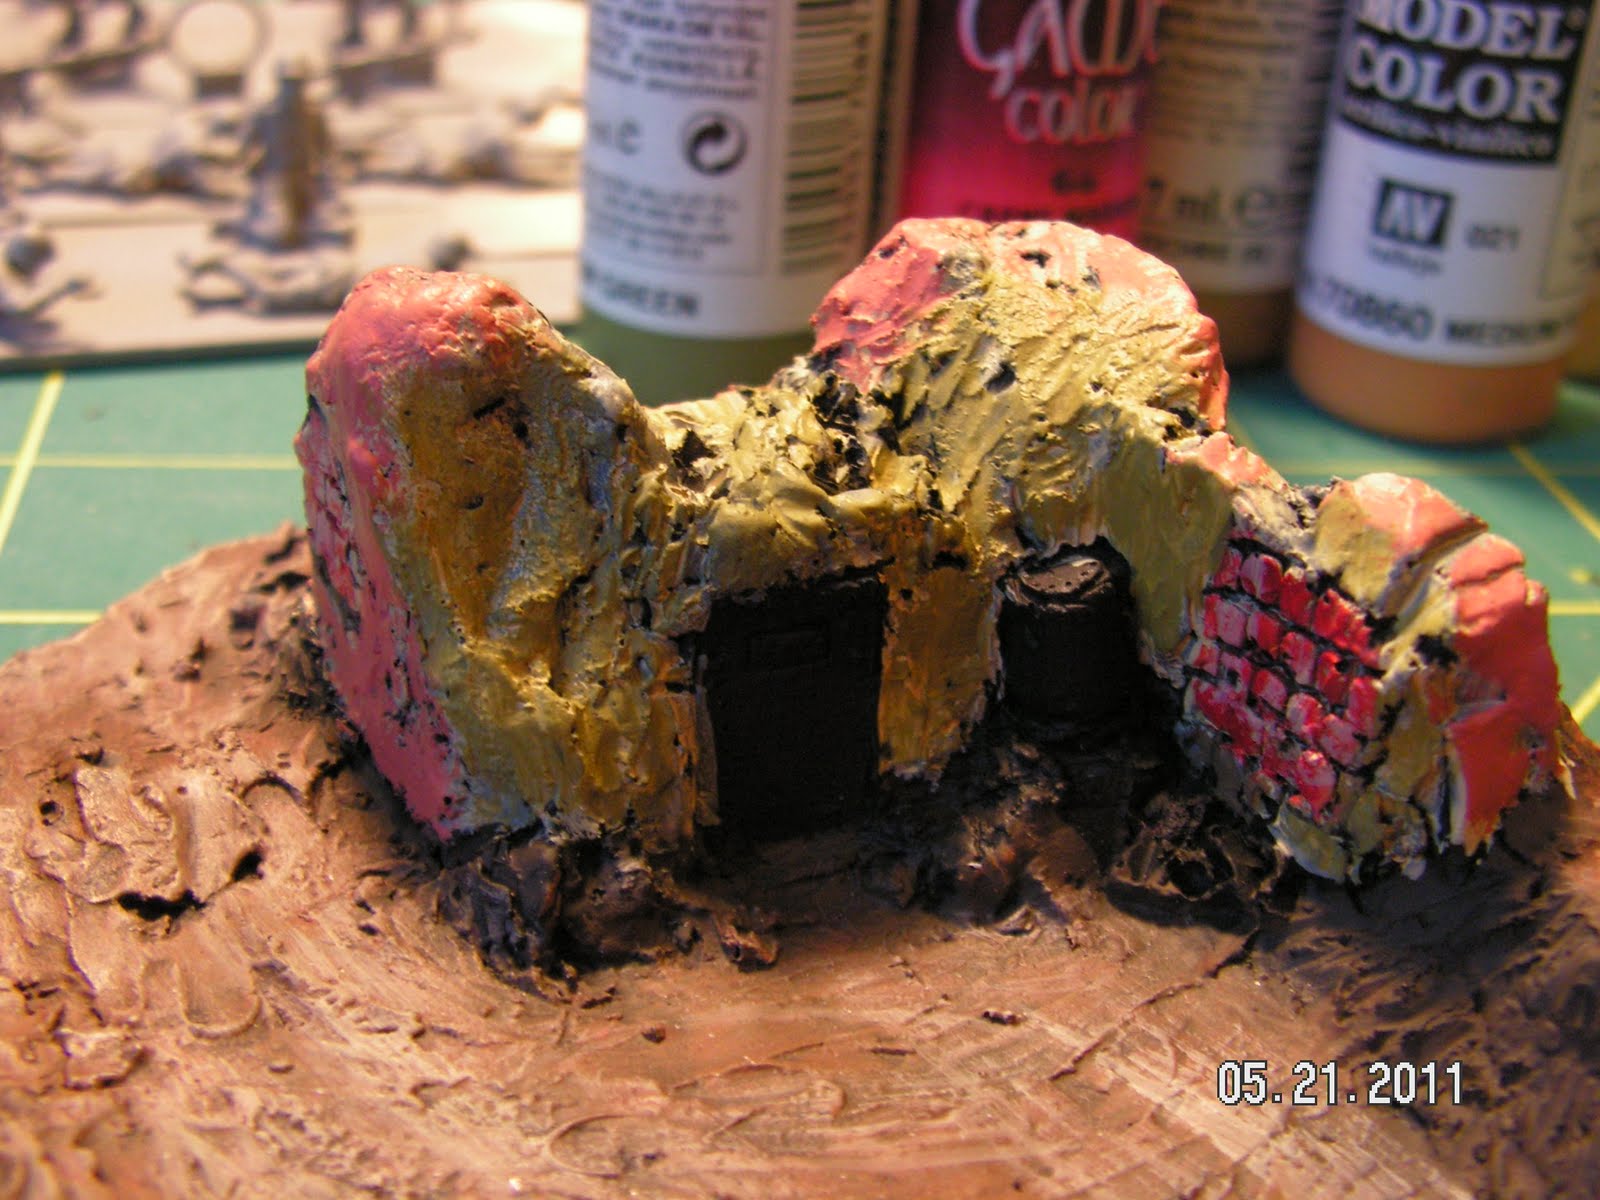
The first layer of paint to cover the black undercoat was Vallejo Dark Sand.  I went with a light color to help simulate the color of unpainted plaster.  In this way when I dry brushed the colors over it some of the "plaster" would show through as chipped paint and aging.  At least that is what I was hoping it would accomplish.


The next step was to paint the actual color on the plaster.  I decided that the walls of each "building" would be different and the interior walls would also require different colors.  Here is what I picked: Vallejo Flat Green, Yellow Green, Cam. Orange Ochre, Medium Fleshtone and Game Color Tan.  Once the base color was applied I then took some Light Grey to create a highlight for each one.


After the paint dried I took out a dark brown chalk pastel and then rubbed it vigorously over the walls and bricks.  This added to the dirty look of old walls and the start of damage.  In order to keep the pastel color on the walls while I painted the rest of the piece I sealed the walls with a matt varnish.  This also helped to tone down the bricks a little bit as well.


I will go back and add rain streaks and battle damage to the walls now without ruining the effort I've put into the walls.  After that, I will tackle the wood boards, metal sheets, and other parts of the piece that look like nothing more than just molded dirt.

Saturday, May 14, 2011

Terrain Conundrum part III

Its taken a little bit but I have finally gotten around to painting the brick walls for the terrain piece.  Up to this point only the ground had been painted.
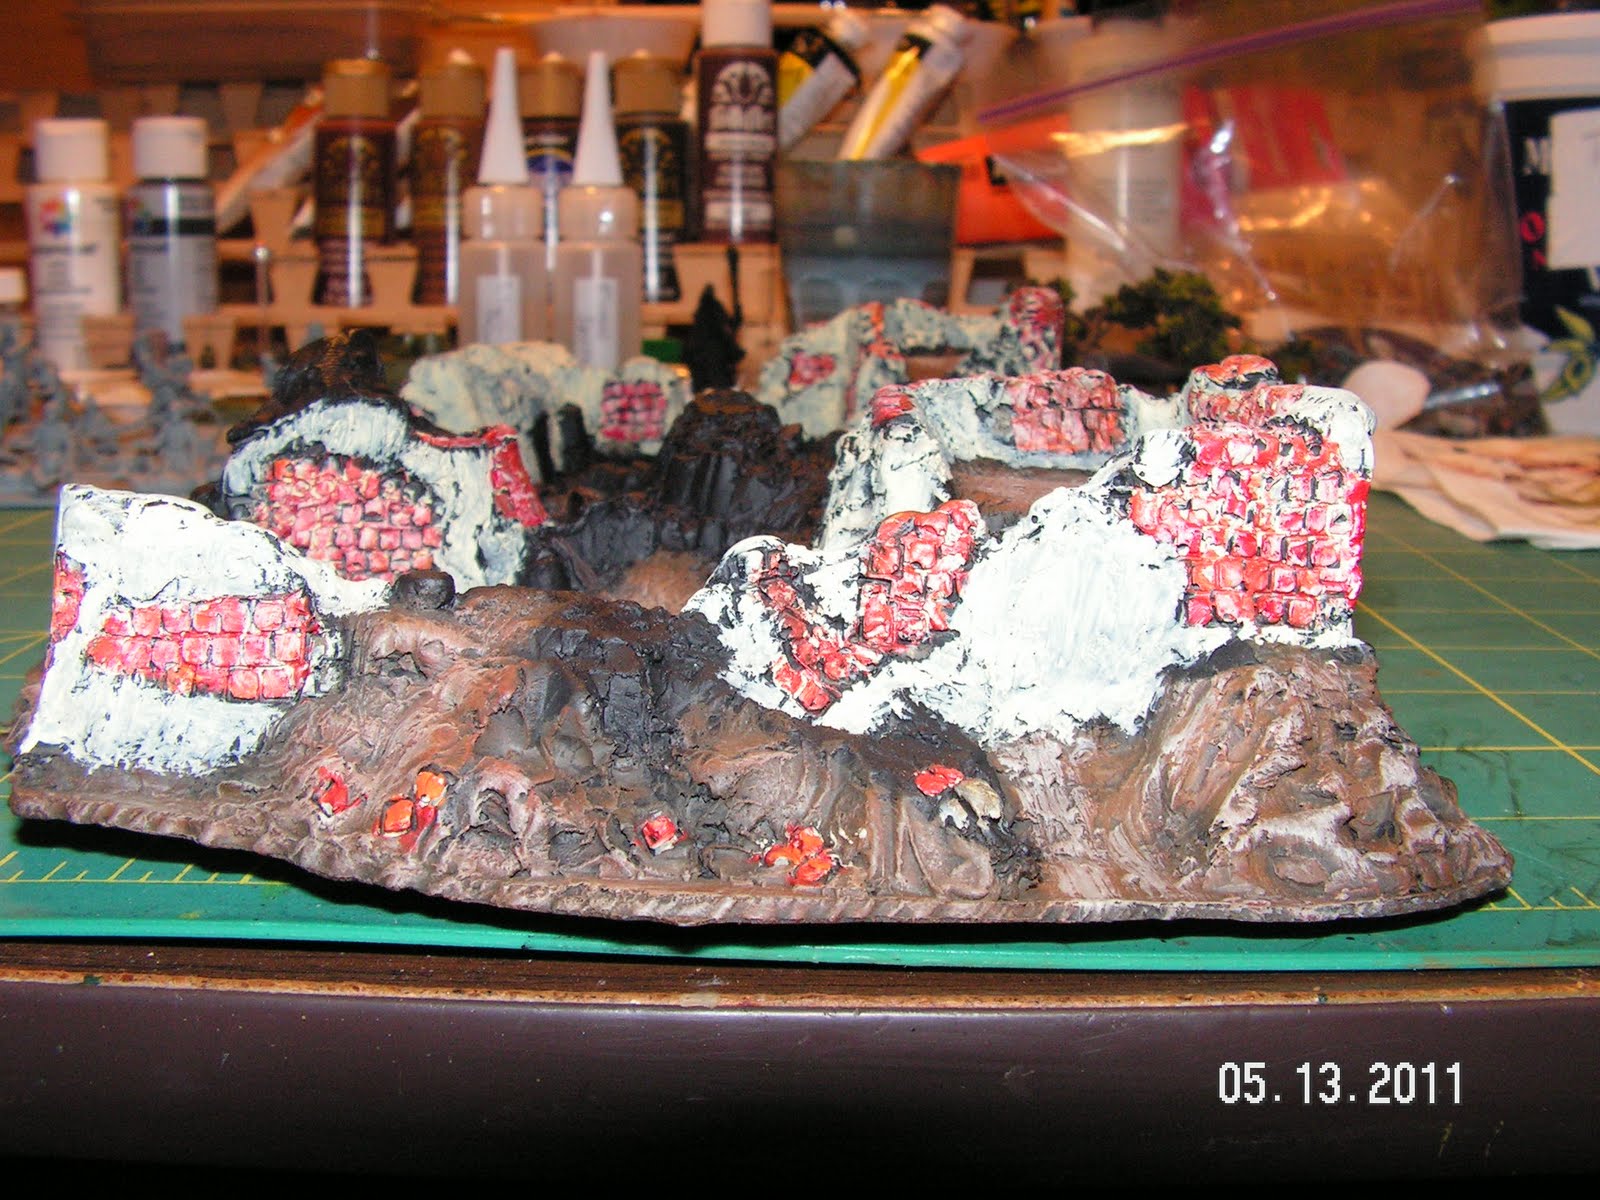
I started with a base coat of VJ Buff on the bricks.  This became the mortar color and a nice way to lighten up the brick work a little from the original black base coat.  Also the tops of the walls and anywhere that looked like the bricks had fallen out received this base coat.


Once this was dry I then picked my brick colors.  They were Burnt Sienna, Orange and Carmine Red.  Using a pallet, I unevenly mixed these three colors together making sure that I never completely blended them together.  Applying them in this fashioned allowed a quick way to add depth to the brick work without having to paint it three times.  Once this was dry I did go back and using the same mix of paint pick out individual bricks and paint them a little more heavily just to add a little more depth.


Once all of that had dried I went back over the bricks with a light dry brush of the Buff color to add "dust" to surface.  I am rather amazed at how well the dry brushing stands out when the flash was used to take the photos.  The last photo in the group is under natural light just to show the difference.


The final touch I will do to the brick work once I paint the plaster on the walls will be to take a Rust Brown Chalk Pastel and rub it against the bricks.  This will help dirty up the wall but if I apply it before the plaster is painted it will most likely get rubbed away.  I will also go back and add some areas that look like they had been hit by a shell.

I think the piece is finally taking shape.  Next step is the plaster on the walls.